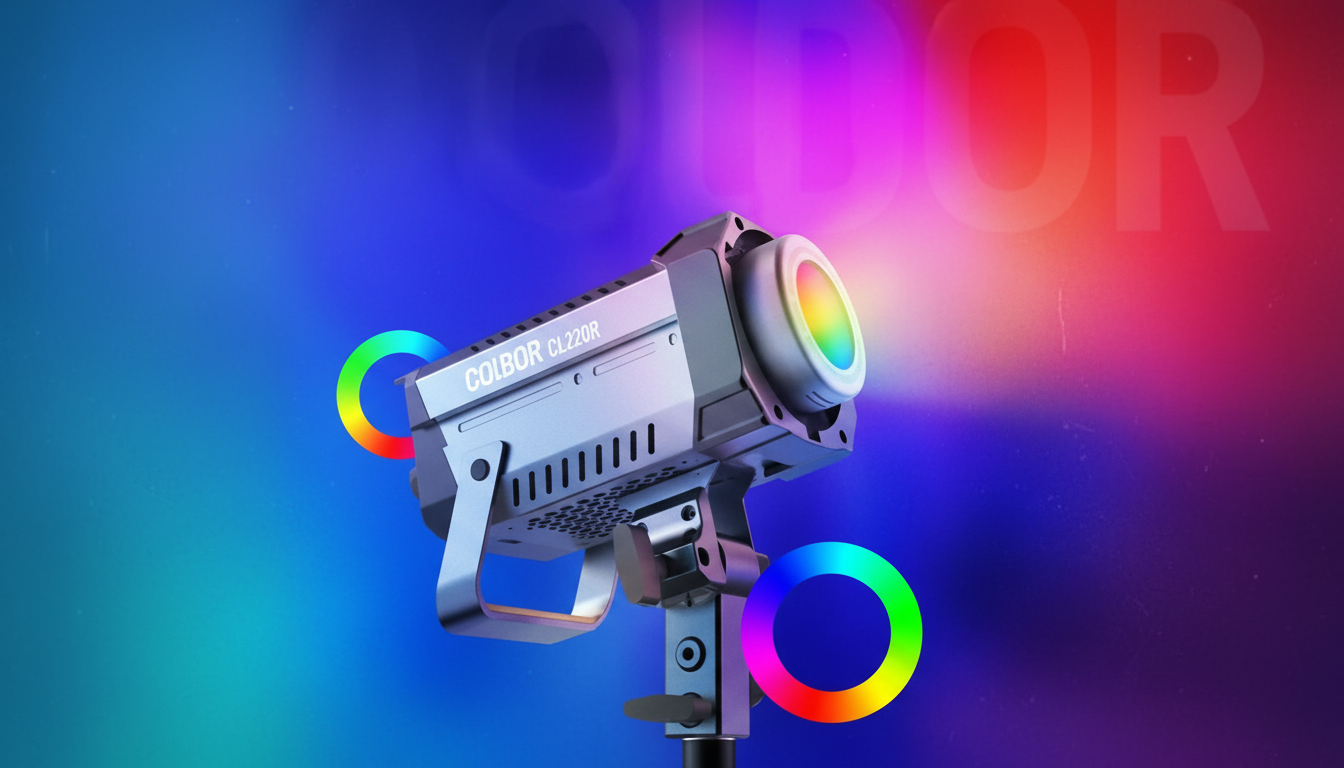
A 220W RGB LED video light is a strong, flexible fixture that can cover both clean “white light” needs and creative color work without swapping gels. The extra wattage is especially useful once you start shaping light with diffusion and modifiers, since every layer of softness typically reduces output. For more guidance, see Amaran PT1c RGB Light Tube.
High output is only part of what makes a light dependable on set. The details—color accuracy, control options, and mounting—determine whether footage looks consistent across different cameras and environments. For further reading, see DIY LED Lighting – CRI vs RGB vs CCT.
Place the light 30–45° off-camera and slightly above eye level, then add diffusion to soften shadows while keeping a bright, confident exposure. A 220W fixture is a practical choice when you want a soft look (bigger diffusion, closer placement) without driving ISO too high.
For products, the goal is controlled reflection and clean gradients. Use a large diffuser or softbox as your primary source, then add a subtle RGB wash to the background to create separation—especially useful for dark products against dark backdrops.
Use the 220W unit as a key through diffusion for flattering wrap. Add a second small light (or a practical lamp in the scene) as a rim or edge. If you want color, keep it deliberate: a controlled tint on hair/edge or a motivated “neon” source behind the subject reads stylized without making skin look muddy.
When space is tight, bounce the light into a white wall or ceiling to create a broad, soft source. Increase output to compensate for bounce loss, and “feather” the light so the brightest part doesn’t slam directly into the background.
Keep skin tones neutral with a white key, then use RGB as an accent on the background or as a motivated source (a “sign” light, screen glow, or hallway spill). This keeps the subject clean while still delivering a creative palette.
These starting points help you move faster when you’re building a look under time pressure. If you’re troubleshooting flicker, it can help to understand shutter angle fundamentals from the ASC shutter angle basics guide.
| Scenario | Placement | Suggested approach | Goal |
|---|---|---|---|
| Interview / streaming | Key at 45° off-camera, slightly above eye line | Neutral CCT key + gentle diffusion; minimal RGB spill | Clean skin tones and flattering shadows |
| Product video | High and forward through diffusion | Soft, broad source; add RGB wash behind product | Controlled reflections and separation |
| Music / creative scene | Key plus background accent | Neutral key; saturated RGB on background/practicals | Stylized mood without muddy skin |
| Small room | Bounce into wall/ceiling | Increase output; feather light away from background | Soft wrap with less harshness |
Yes—set the light to a neutral white setting in CCT mode for the key, add diffusion for softness, and reserve RGB color for the background or accents so skin tones stay natural.
Aim RGB light at the background, add grids/flags when possible, increase the subject-to-background distance, and keep a clean neutral key on the face.
Flicker can happen when PWM dimming interacts with your frame rate and shutter settings; test at your intended settings, adjust shutter speed/angle, and avoid extremely low dimming levels if flicker appears.




Leave a comment