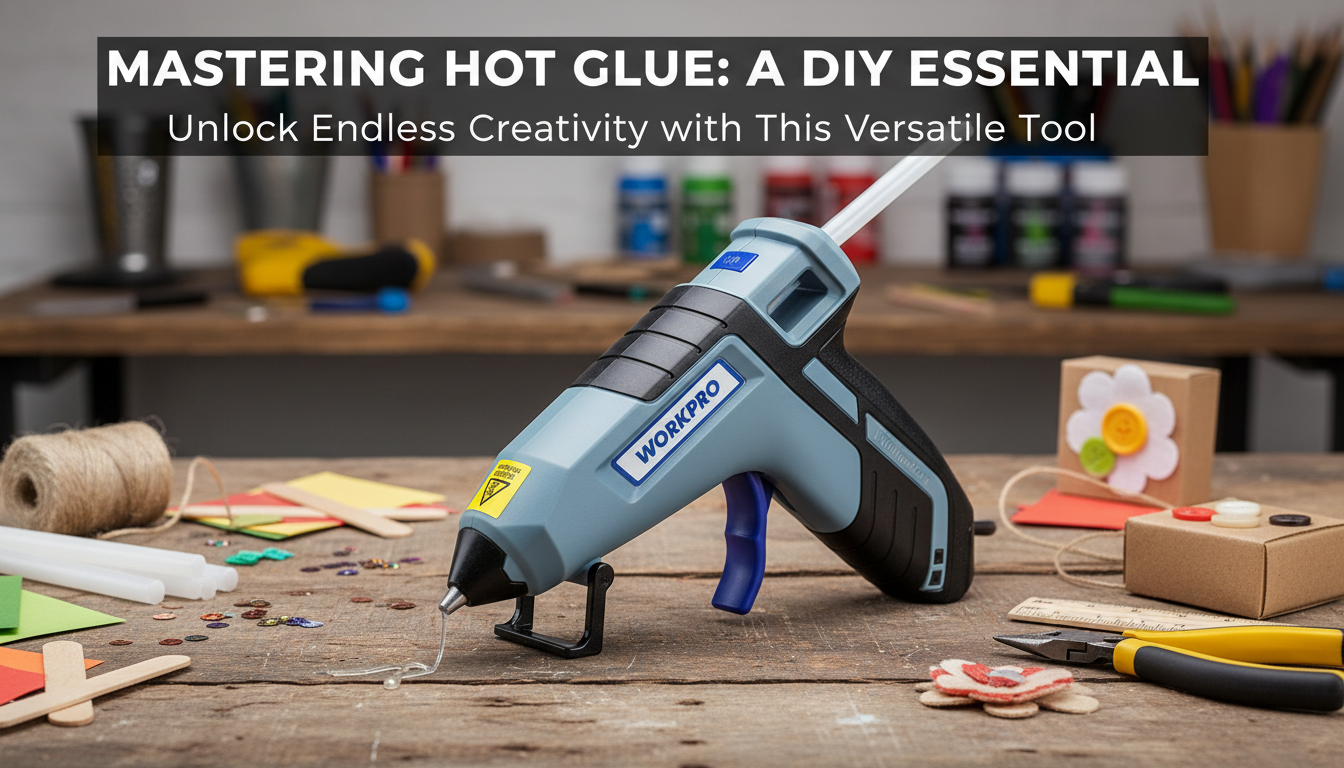
A 30W hot melt glue gun is a practical, all-around tool for crafting, decorating, and small household fixes. With 20 included glue sticks, this kit is set up for quick start projects—bonding common materials like wood, fabric, plastic (select types), and ceramics when used with the right technique and surface prep.
If you want a dependable go-to for day-to-day projects, take a look at the 30W Hot Melt Glue Gun with 20 Glue Sticks for DIY Crafts & Quick Repairs—a simple setup that helps keep momentum going when you’re crafting or troubleshooting little fixes around the house.
Hot glue shines when you need speed: it’s ready in moments, bonds quickly, and gives you a little gap-filling ability that tape or liquid glue may not. For crafters who like to plan projects ahead (supplies, steps, timelines), pairing tools with a simple planning system can also help—like the Design Your Life: A Simple Guide to Setting Goals That Actually Matter digital guide for organizing goals and routines.
Hot melt adhesive works by melting, wetting the surface, and solidifying as it cools—creating a fast, convenient bond. Because the adhesive sets as it cools, your results depend on how well the glue contacts the surfaces and whether it can “grab” the material texture.
For background on how hot-melt adhesives work, see Hot-melt adhesive. For general tool safety practices, OSHA’s hand and power tool guidance is a solid reference point.
| Material | Typical Result | Prep & Technique | Notes |
|---|---|---|---|
| Wood | Strong for light projects | Lightly sand, remove dust; apply glue and clamp/press 20–60 seconds | Not for heavy load-bearing joints |
| Fabric/Felt | Good if applied carefully | Use small beads/lines; avoid soaking through | Heat can scorch delicate fabric |
| Ceramic/Glass | Moderate if surface is clean | Degrease with isopropyl alcohol; hold firmly until set | Better for décor than impact-prone items |
| Metal | Moderate, can pop off with stress | Clean oils; roughen slightly; press firmly | Temperature swings can weaken the bond |
| Cardboard/Paper | Very good | Use low amounts to prevent warping | Fast set makes positioning important |
| Some plastics | Unpredictable | Test first; roughen and clean | PP/PE often need specialty adhesive |
One helpful approach for faster work is to set up a “glue station”: a protected surface, a place to rest the gun between uses, and a scrap piece of cardboard for test beads. That simple setup reduces drips on finished materials and keeps projects moving.
For additional general burn-prevention guidance, the U.S. Consumer Product Safety Commission (CPSC) burn prevention resources are a useful reference.
If you like keeping a compact “project corner,” it can help to store your glue kit near other quick-finish essentials. Even unrelated everyday tools can benefit from good organization—whether it’s a craft kit or something like an Automatic Ceramic Hair Curler with Rotating Barrel & Digital Temperature Control that you want easy to grab, put away, and keep protected between uses.
Setting typically happens within seconds to a minute as it cools; full bond strength can improve after several minutes as the adhesive finishes cooling through. Heavier parts may need longer holding time or clamps.
Some plastics bond well while others (notably PP/PE) resist adhesion. Testing a small hidden area first, cleaning oils, and lightly roughening the surface can improve grip.
Let the gun fully warm up, use steady trigger pressure, release pressure before lifting the nozzle, and keep a scrap surface nearby. Small strings can be removed after cooling.


Leave a comment